


 Français
 Русский
 Español
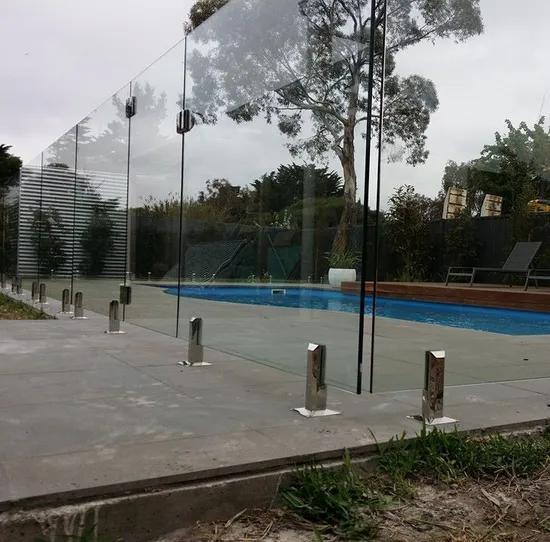
Glass balustrade measuring is the survey step that decides whether your panels arrive ready to fit or come back for rework. A careful on-site record — run lengths, post positions, panel widths, finished height and movement gaps — gives the supplier exact data to cut glass and hardware to. Guesswork on site means wasted panels and a delayed install.
Before measuring, confirm the system concept: spigot-mounted frameless, post-and-clamp, or channel-fixed panels each change what to record. The glass balustrade systems overview explains how each lays out on site.
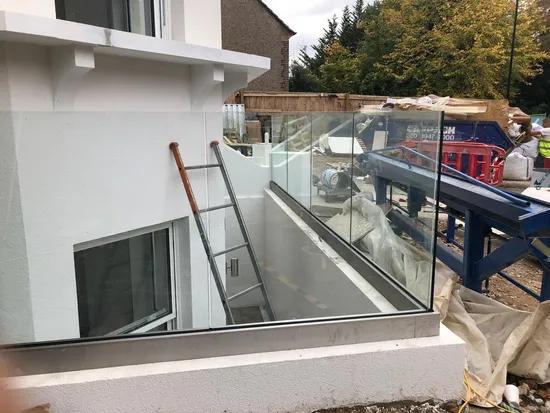
Tools and Datums Before You Measure
Keep a tape measure, laser level, string line, pencil and survey sheet on site. The key reference is finished floor level (FFL): measure height from the finished walking surface — tiles, screed or decking — not the raw slab, since finishes add millimetres to the base. Note the substrate at each support point: concrete, steel or timber sets anchor selection; pull-out data comes from the anchor supplier.
Step-by-Step: Measuring Posts, Panels and the Run
Follow this sequence and record every figure on a dimensioned sketch:
- Establish the level and plumb datum. Set a laser level on FFL and mark the top line along the run; on stairs, string a line along the nosings. Every post position checks back to this datum.
- Measure straight runs. Record overall length along the glass face, not the wall behind it, and note any bow or dip the panels cannot follow.
- Measure corners. Measure each leg separately and record the internal or external angle; a panel or post sits at the change point, and mitred or butt-jointed corners differ.
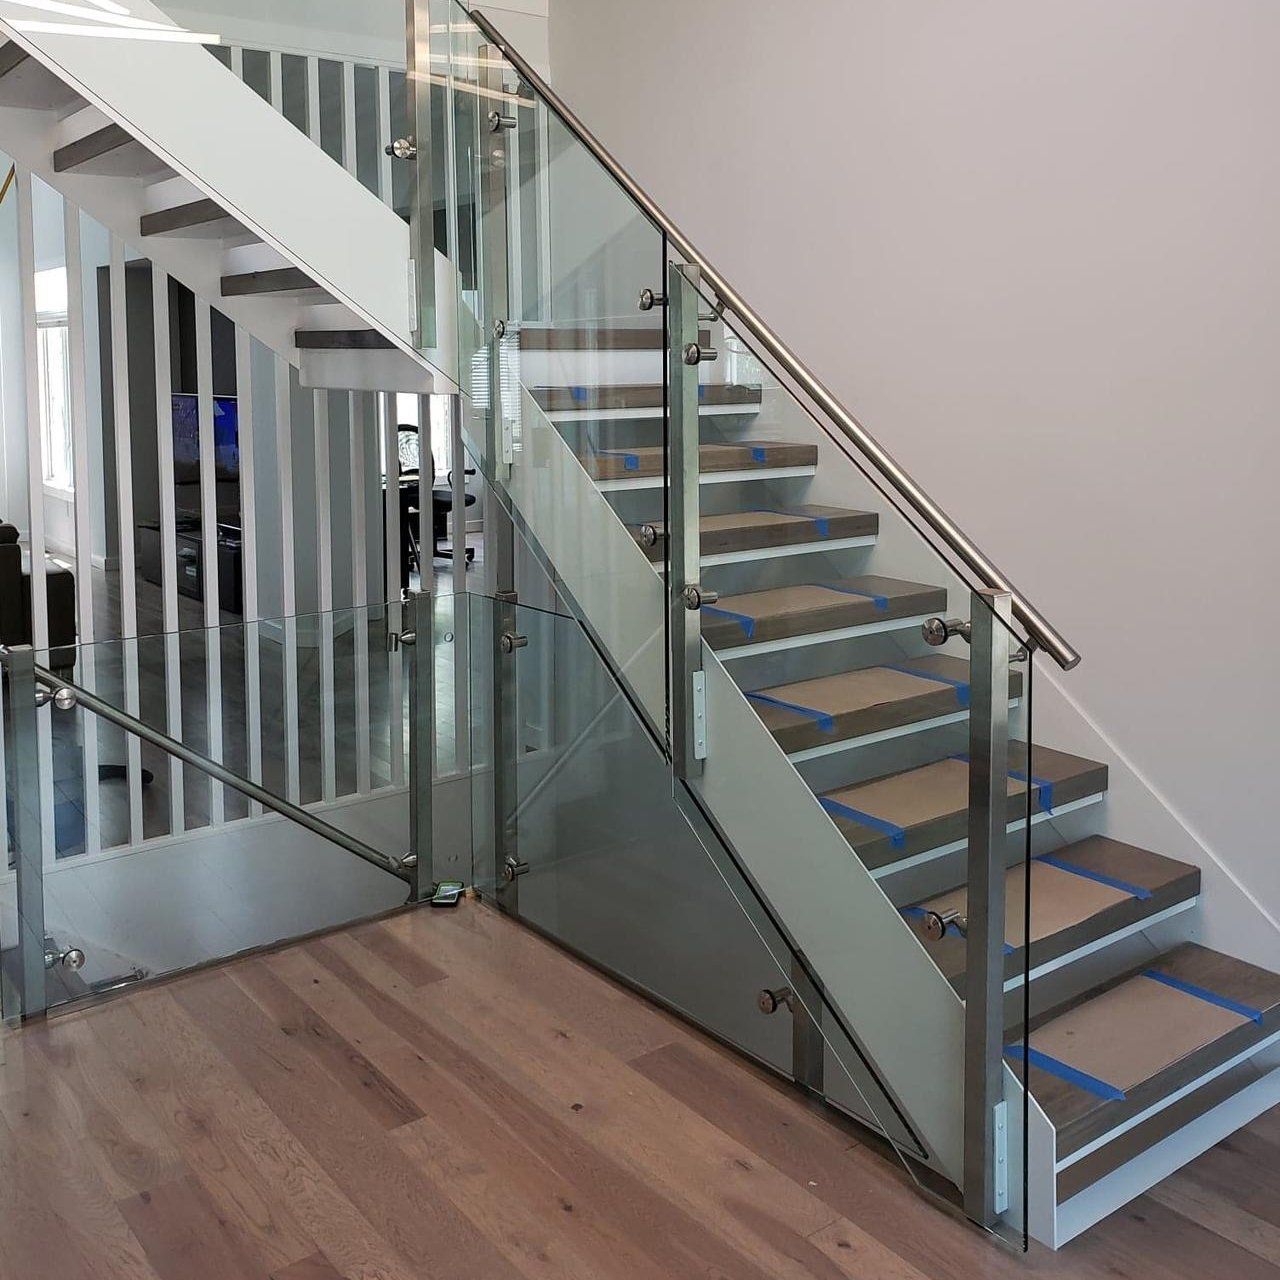
- Measure sloped stair runs. Record the pitch line along the nosings, rise and going per step, and rail height above the nosings. Sloped panels are cut to this pitch. Our guide to glass railing handrail installation shows how the pitch feeds the fixing pattern.
- Mark post positions and spacing. Set out post centres along the datum, working outwards from corners and openings. Spacing follows panel size and the engineered load case, so confirm the bay division with the supplier. Our guide to choosing glass railing posts relates post count to span.
- Calculate panel widths. Do not hand the raw opening to the cutter: subtract clamp bodies, channel and gaskets, leave a joint gap for movement, and the remainder is the panel width.
- Measure finished height. Record vertical distance from FFL to the top of panel or handrail; finished heights commonly run about 900 mm to 1100 mm by code, confirmed against the project spec.
- Record substrate and edge distances. Note concrete, steel or timber at each fixing and the slab-edge distance; anchor edge distances come from the anchor supplier’s data.
Sample Measurement Record
| Field | What to record | Where it matters |
|---|---|---|
| Run length | Overall length per leg, straight or sloped | Glass quantity and panel count |
| Angles | Corner angle, stair pitch | Cutting and corner detail |
| Post centres | Position of each post on the datum | Hardware schedule and drilling |
| Panel width | Opening minus clamps/channel minus gap | Fabrication size per panel |
| Finished height | FFL to top of panel or rail | Glass height and rail position |
| Substrate | Concrete, steel or timber per fixing | Anchor type and edge distance |
Tolerances: Installation vs Glass Fabrication
Glass panels are cut to tight fabrication tolerances, while the structure accepts the looser installation tolerance of the building trade. Adjustable clamps, gaskets, setting blocks and channels absorb that difference: they let you square a panel, equalise edge gaps and keep the top line true without forcing the glass.
Never shim a panel with hard spacers or tighten a clamp to pull a crooked run straight — forced glass carries hidden stress that can later show as cracking. Acceptance values for plumb, gap uniformity and height follow the supplier’s data and approved drawings, so confirm exact tolerances before fabrication. Leave movement allowance at joints and long exterior runs for thermal expansion.
Data to Send the Supplier Before Ordering
- Overall length of every leg, with corner angles and stair pitch.
- Post centre positions and spacing on a dimensioned sketch.
- Panel width per bay, with joint gaps and hardware occupancy noted.
- Finished height from FFL and the FFL reference point used on site.
- Glass type and thickness, confirmed with the glass supplier and engineer.
- Substrate, edge distance per fixing, and environment for stainless grade.
- Site photos of each run from both ends.
Browse the railing & balustrade hardware range for spigots, clamps and posts sized to your measured bays.
Common Measuring Mistakes to Avoid
- Measuring from the raw slab instead of FFL, so panels run short or tall.
- Handing raw openings to the cutter without subtracting clamp or channel occupancy.
- Marking post spacing by eye instead of from a level datum line.
- Ignoring bow or dip in the substrate that a rigid panel cannot follow.
- Forgetting thermal movement gaps on long exterior runs.
- Skipping the on-site recheck after the supplier confirms dimensions.
Glass Balustrade Measuring FAQ
Do I measure the wall or the glass face? Measure along the glass face, including spigot or clamp projection; the wall behind overstates the opening and gives panels that will not fit.
How do I calculate panel width from an opening? Subtract clamp or channel width and the joint gap from the bay opening; the remainder is the panel width, using the supplier’s dimensions.
What height should I measure to? From FFL to the top of panel or handrail; finished heights commonly run about 900–1100 mm by code, confirmed against the project spec.
How is a stair balustrade measured? Record the pitch line along the nosings, rise and going per step, and rail height above the nosings; sloped panels are cut to that pitch.
Installation vs fabrication tolerance? Glass is cut to tight manufacturing tolerance; the structure accepts a wider installation tolerance. Fittings and gaskets bridge the gap — never force glass onto an imperfect structure.
Ready to order? Send the dimensioned sketch and schedule to our team; we will confirm every panel size and match the hardware package — get a quotation from Trilonum.
